What you’ll need
- A remote or local Kubernetes cluster with Consul installed OR minikube to set up a demo cluster locally.
- An ngrok account.
- kubectl and Helm 3.0.0+ installed on your local workstation.
- A reserved domain, which you can get in the ngrok
dashboard or with the ngrok
API.
- You can choose from an ngrok subdomain or bring your own custom branded
domain, like
https://api.example.com. - This guide refers to this domain as
<NGROK_DOMAIN>.
- You can choose from an ngrok subdomain or bring your own custom branded
domain, like
Set up a local Consul service mesh on Kubernetes
This guide requires access to a remote or local Kubernetes cluster with Consul installed. If you have an existing cluster with Consul set up, you can skip this step and proceed to 2. Install the ngrok Kubernetes Operator. If you don’t have one set up, set up a local Minikube cluster and install Consul now.- Create a local cluster with minikube
- Create a file called
values.yamlwith the following contents:
- Install the Consul Helm chart
- Verify Consul is installed and all its pods are healthy
These steps are based on Consul’s Tutorial Consul Service Discovery and Service Mesh on Minikube
Configure the ngrok Kubernetes Operator
Consul requires a bit of extra configruation to work with ngrok’s Operator for Kubernetes ingress. You’ll need to use a pod annotation to enable the Consul Connect sidecar injector. This allows using Consul Connect to secure the traffic between the ngrok Kubernetes Operator and your services.-
First, create a Kubernetes Service for the ngrok Kubernetes Operator. Consul relies on this to name services to declare Service Intention
sourceanddestinationvalues. Create a Kubernetes Service for the ngrok Kubernetes Operator in theconsulnamespace. -
Install the ngrok Kubernetes Operator
Next, install the ngrok Kubernetes Operator into your cluster. The controller pods should be in the Consul service mesh to proxy traffic to your other services. Use pod annotations to enable the Consul Connect sidecar injector and allow outbound traffic to use the Consul mesh. Consul documents how to set these 2 annotations in the Configure Operators for Consul on Kubernetes doc.
Check out the Operator installation doc for details on how to use Helm to install with your ngrok credentials. Once you’ve done that, you can run the command below to set the appropriate annotations.
- HashiCorp’s docs also mention the annotation
consul.hashicorp.com/transparent-proxy-exclude-inbound-ports. This is not applicable to the ngrok Kubernetes Operator as it creates an outbound connection for Ingress rather than exposing ports.- The
--set-stringflag allows the pod annotation to escape the.character in the annotation name while ensuring the valuetrueis a boolean and not a string. - In a production environment, or anywhere you wish to use Infrastructure as Code and source control your Helm configurations, you can set up your credentials following this guide.
Install a sample application
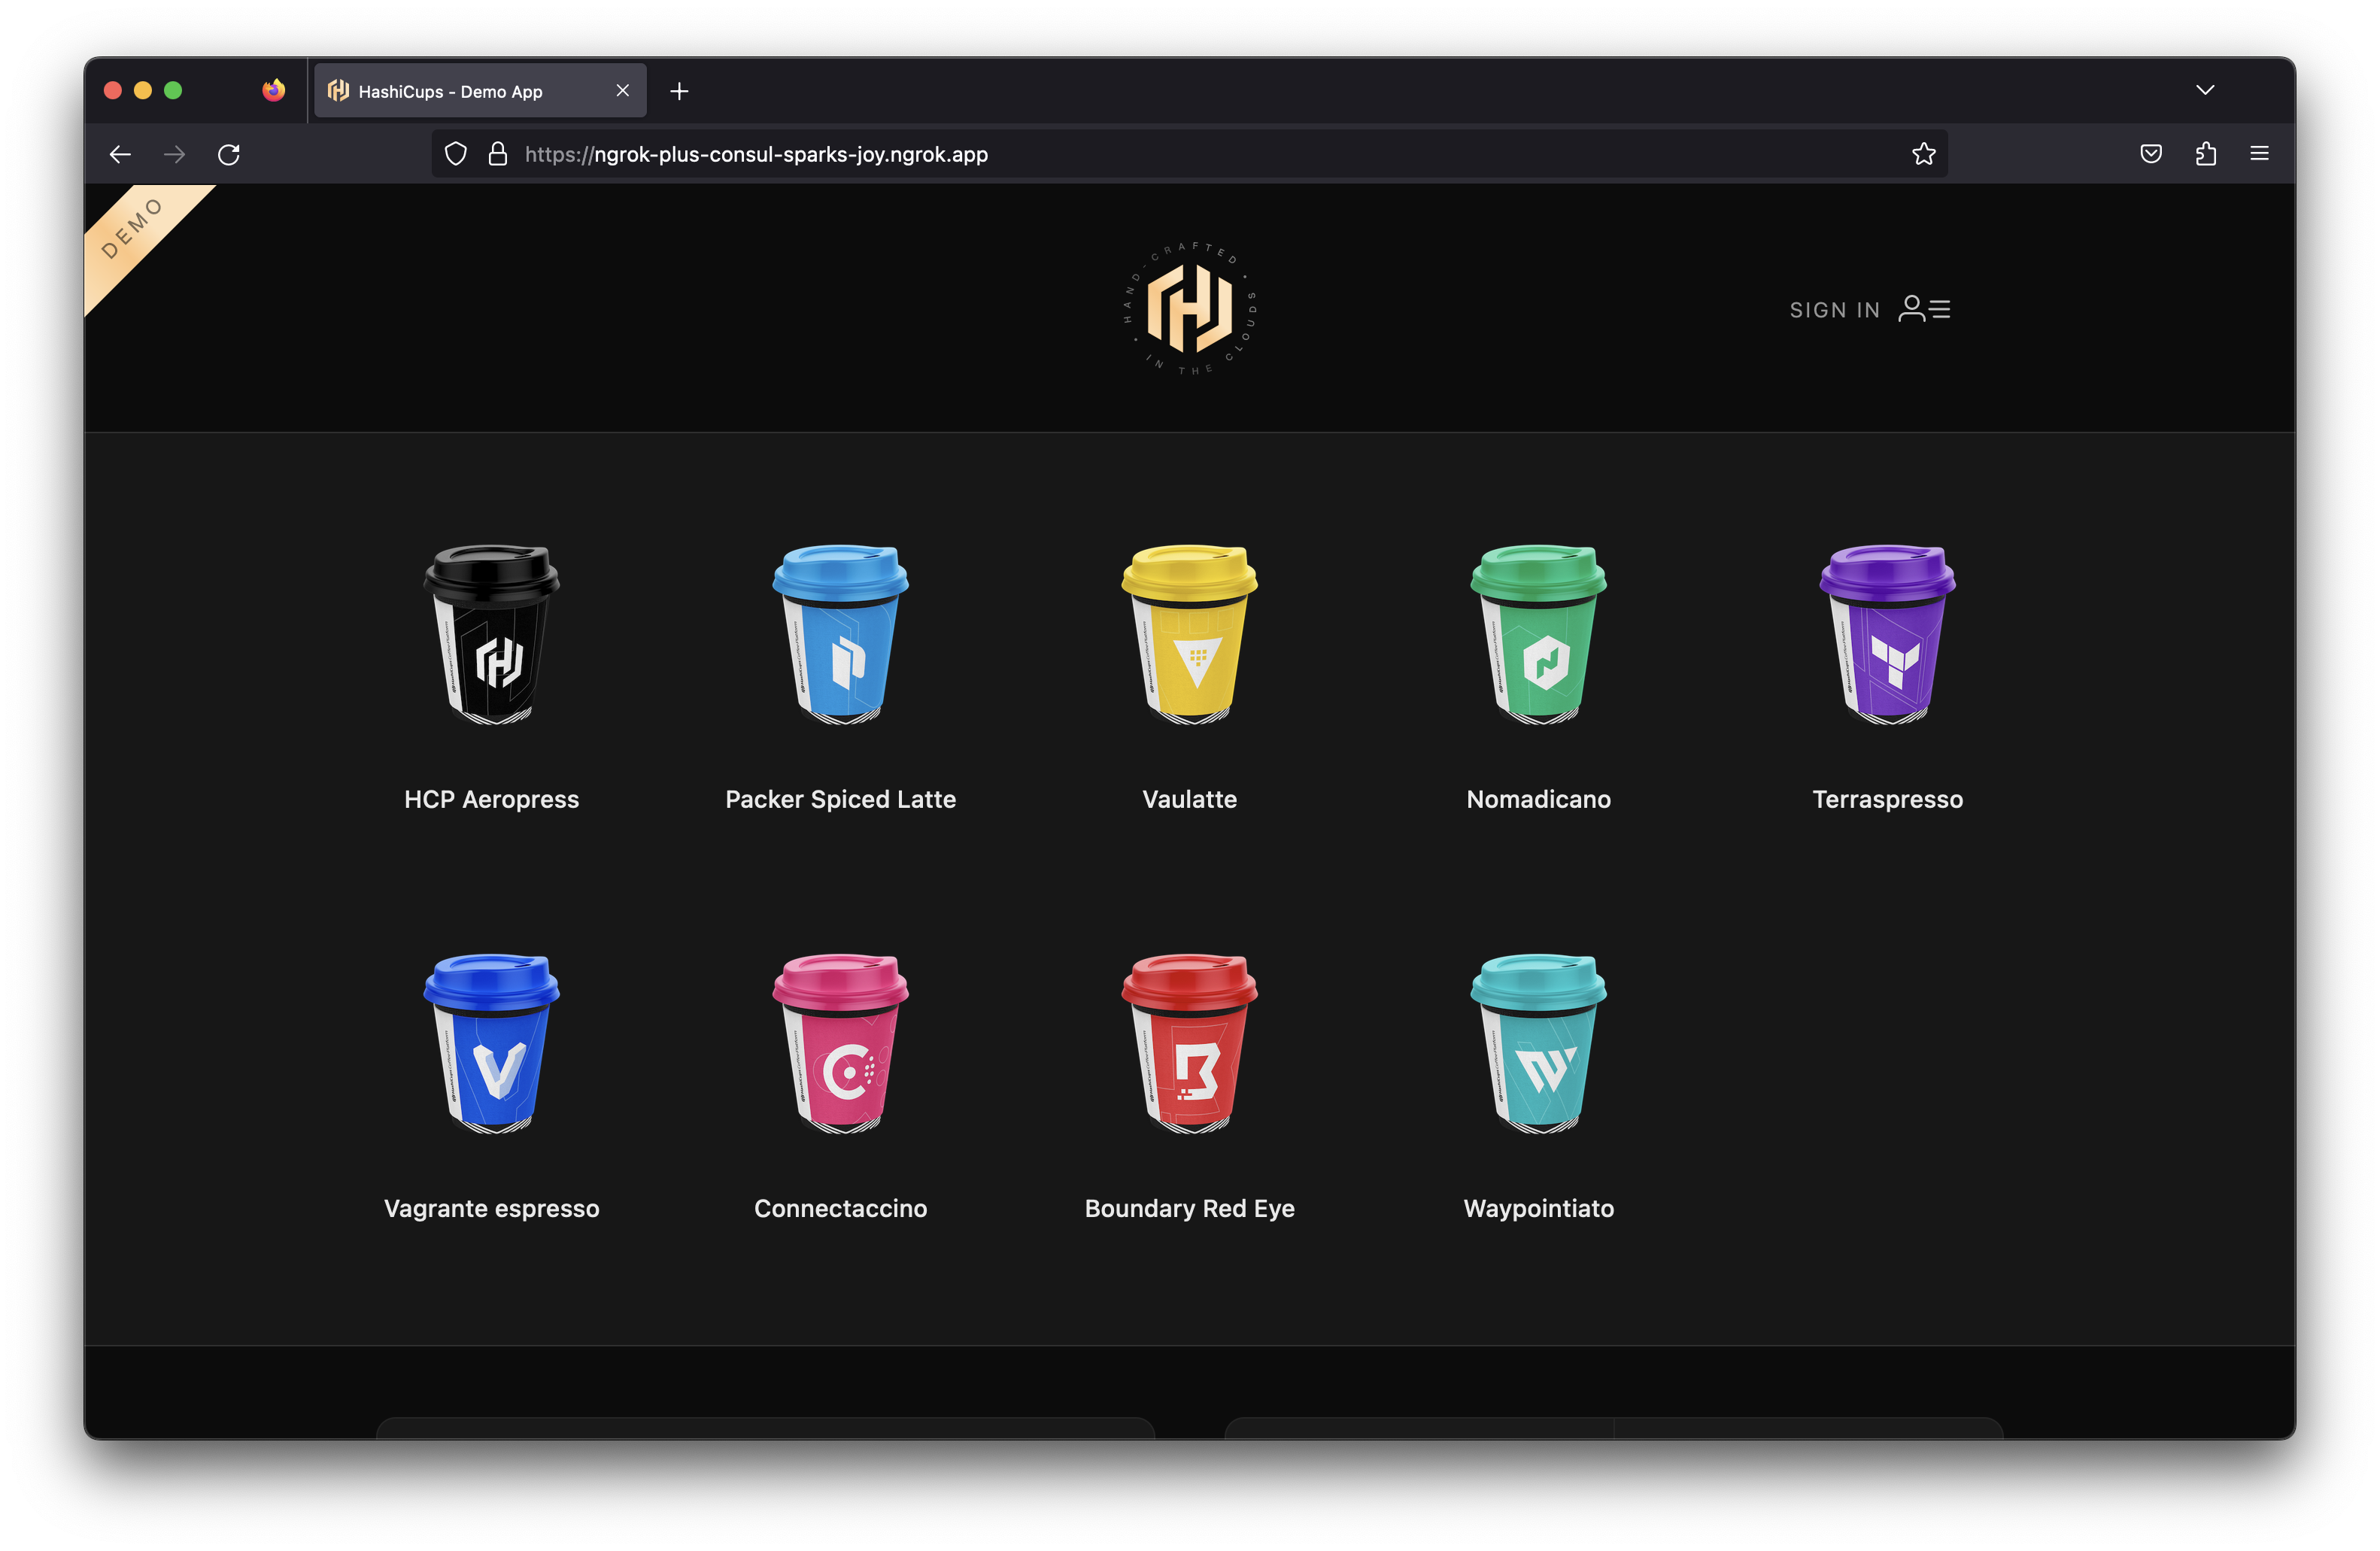
Install a sample application to try out the service mesh and Operator combination. This guide uses the HashiCups Demo Application HashiCorp uses for demos and guides such as in their Getting Started with Consul Service Mesh for Kubernetes guide. This application is a simple e-commerce application that allows users to order coffee cups. The application has afrontend and public API services that are also backed by a private API and database. These communicate with each other through the Consul service mesh. This comes with nginx installed as a proxy for the frontend and Public API services. Replace this with ngrok to provide public access and other features.
- Clone the HashiCorp Learning Consul repo. This has multiple great example applications for learning about Consul and Kubernetes. This guide uses the HashiCups application.
- Install the HashiCups sample app in the
consulnamespace. This app consists of multiple Services and Deployments that make a tiered application. Install all of them from this folder and then modify things from there.
- Remove the existing Service Intentions for the
public-apiandfrontendservices and add new ones.
nginx installed with intentions to the frontend and public-api services. Remove these and add new intentions to allow traffic from the ngrok Kubernetes Operator to the frontend and public-api services.
- Create Service Intention from ngrok to HashiCups and the public-api
Configure Public Ingress for the sample application
Now that the ngrok Kubernetes Operator can communicate with thefrontend service and public-api service through the Consul Service Mesh via Service Intentions, create an ingress to route traffic to the app. Create ingress objects to route traffic to the frontend service and the public-api service.
<NGROK_DOMAIN> domain in your browser and see the HashiCups application.

Add OAuth protection to the app
To take your ingress needs a little further, assume you want to add edge security, in the form of Google OAuth, to the endpoint where your 2048 application is humming along. With the Traffic Policy system and theoauth
action, ngrok manages OAuth protection
entirely at the ngrok cloud service, which means you don’t need to add any
additional services to your cluster, or alter routes, to ensure ngrok’s edge
authenticates and authorizes all requests before allowing ingress and access to
your endpoint.
To enable the oauth action, you’ll create a new NgrokTrafficPolicy custom
resource and apply it to your entire Ingress with an annotation. You can also
apply the policy to just a specific backend or as the default backend for an
Ingress—see the documentation on using the Operator with
Ingresses.
-
Edit your existing ingress configuration with the following—note the new
annotationsfield and theNgrokTrafficPolicyCR. - Re-apply your configuration.
- When you open your demo app again, you’ll be asked to log in via Google. That’s a start, but what if you want to authenticate only yourself or colleagues?
-
You can use expressions and CEL
interpolation to filter out
and reject OAuth logins that don’t contain
example.com. Update theNgrokTrafficPolicyportion of your manifest after changingexample.comto your domain. - Check out your deployed HashiCups app once again. If you log in with an email that doesn’t match your domain, ngrok rejects your request.