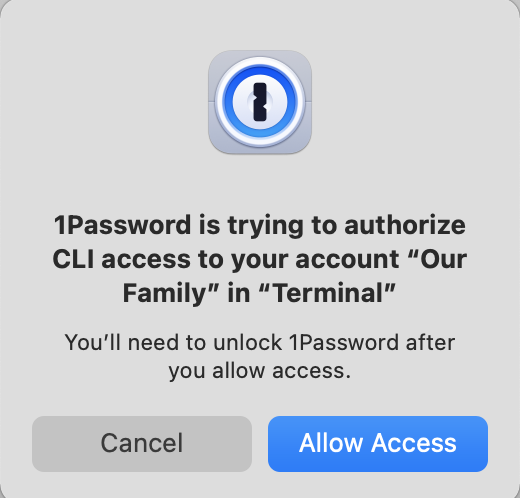
- Store your credentials in exactly one place, limiting the risk of not updating environments after resetting tokens
- Share credentials between environments securely, eliminating the risk of copy and pasting credentials in other tools or reusing credentials between multiple projects accidentally
- Switch between credentials as necessary to test with different ngrok configurations, feature sets, or even accounts
- A 1Password account
- 1Password desktop app installed on your machine (v8 or later)
- 1Password CLI installed on your machine (v2.14.0 or later)
- ngrok installed on your machine
- Basic familiarity with the command line
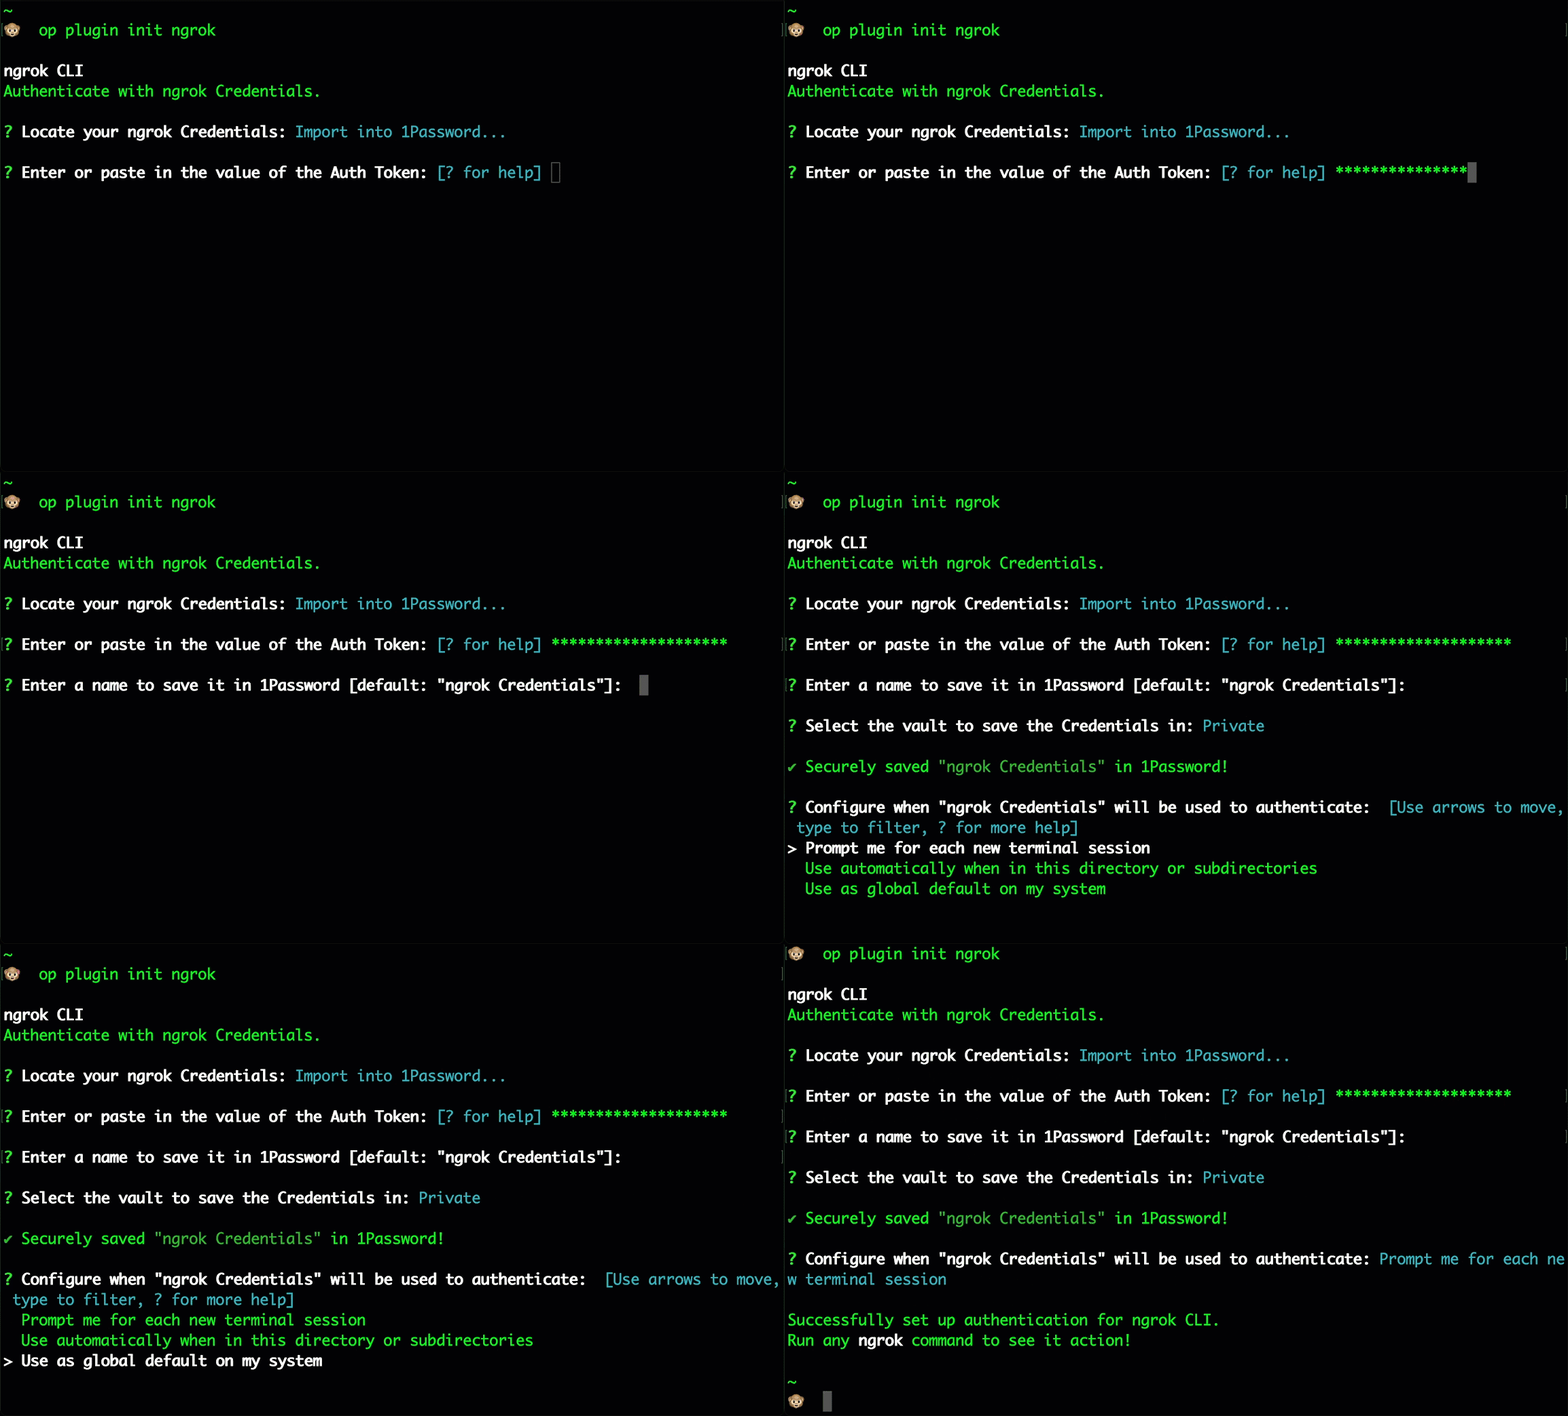
1. Initialize the 1Password ngrok shell plugin
To configure the ngrok shell extension, open a terminal and run this command:


2. Clean up your ngrok.yml file
Now that your credentials are safely in your 1Password vault, you can remove them from your local environment. Use your text editor to update .ngrok2/ngrok.yml and remove the authtoken value:3. Start your tunnel
Now that the environment is configured, start the tunnel. 1Password will intercept the request, determine which credential to use, and start a tunnel as requested.